Bake the Best Cherry Pie: Secrets from the Pros
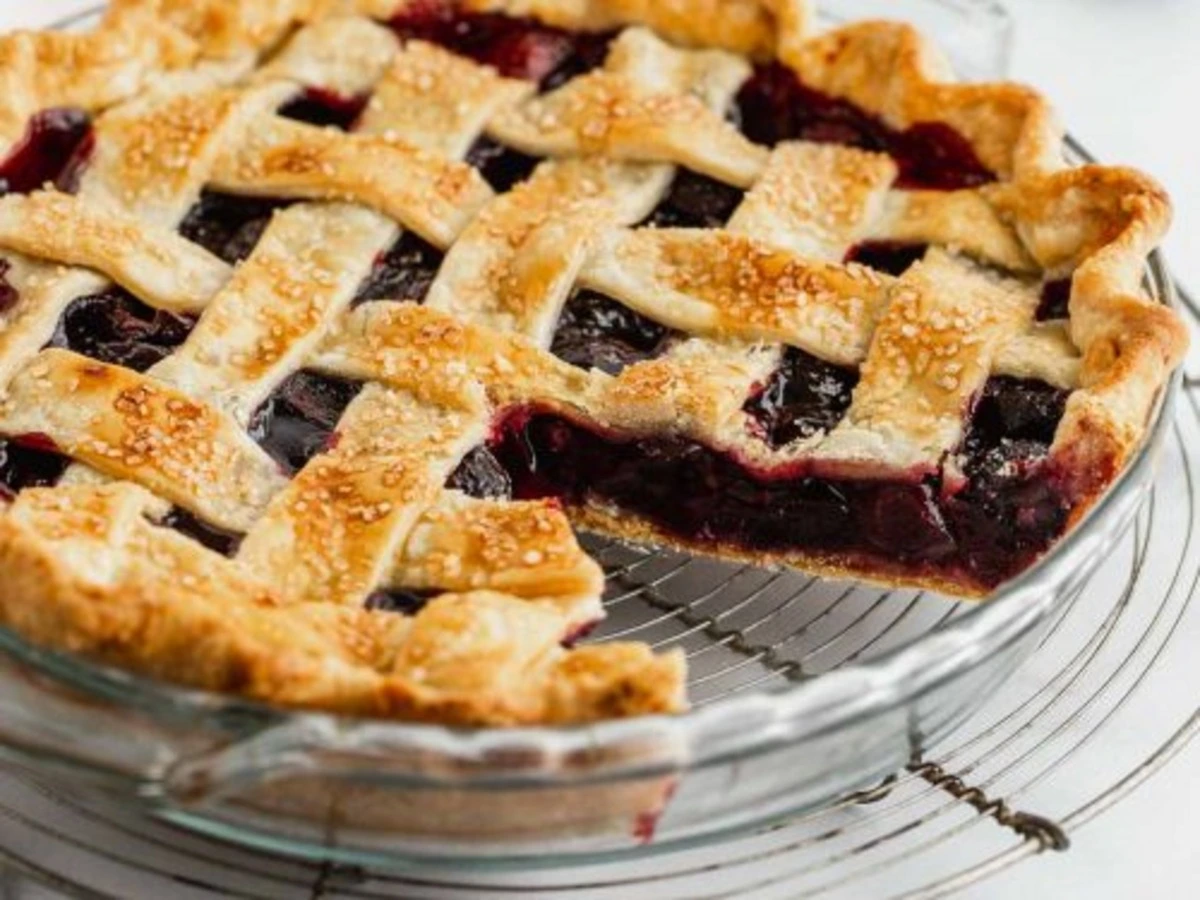
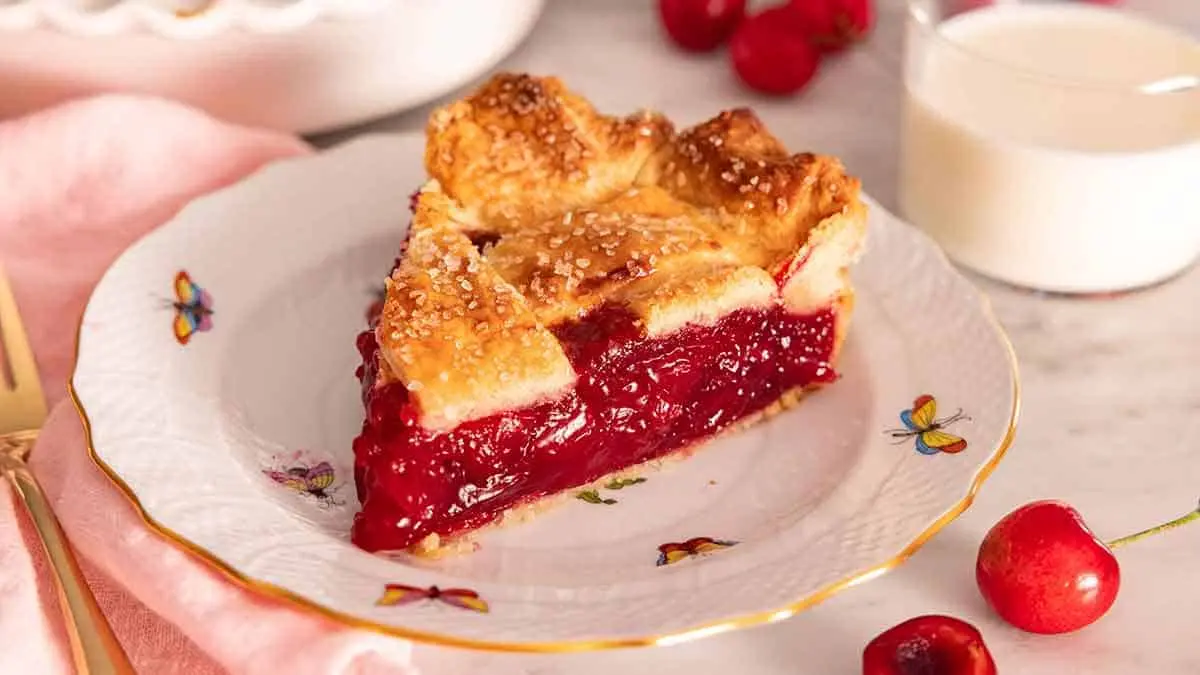
There’s something magical about the aroma of a freshly baked cherry pie wafting through your home, especially during the festive season. This classic dessert, beloved for its vibrant flavor and flaky crust, is a must-have at any holiday gathering. At Starlight Recipes, we’re excited to share the secrets behind crafting the best cherry pie, guided by Sophia, our innovative AI chef. Let’s embark on this delicious journey together!

Ingredients
For the Pie Crust:
- 2 ½ cups all-purpose flour
- 1 cup unsalted butter, chilled and cubed
- 1 tsp salt
- 1 tbsp sugar
- 6-8 tbsp ice water
For the Cherry Filling:
- 4 cups fresh or frozen cherries, pitted
- 1 cup granulated sugar
- ¼ cup cornstarch
- 1 tsp vanilla extract
- 1 tbsp lemon juice
- ½ tsp almond extract (optional)
- Pinch of salt

Step-by-Step Preparation
Step 1: Prepare the Pie Crust
- Combine Dry Ingredients: In a spacious mixing bowl, blend the flour, salt, and sugar. Whisk thoroughly to achieve a uniform mixture.
- Incorporate the Butter: Gently fold in the chilled, cubed butter into the flour mixture. Use a pastry cutter or your fingertips to mix until the texture resembles coarse crumbs. Using a pastry cutter or your fingers, work the butter into the flour until the mixture resembles coarse crumbs.
- Add Ice Water: Slowly incorporate the ice water, one tablespoon at a time, stirring gently until the dough begins to hold together. Be careful not to overmix; you want a cohesive yet slightly crumbly texture. Be careful not to overwork it.
- Chill the Dough: Divide the dough into two halves, flatten each into a disk, wrap in plastic wrap, and refrigerate for at least one hour. This step is crucial for a flaky crust!
Step 2: Prepare the Cherry Filling
- Combine Ingredients: In a large mixing bowl, combine the pitted cherries, sugar, cornstarch, vanilla extract, lemon juice, almond extract, and a pinch of salt. If using frozen cherries, let them thaw and drain excess liquid.
- Mix Well: Gently mix the ingredients until the cherries are evenly coated. Let this mixture sit for about 15 minutes to allow the flavors to meld.
Step 3: Assemble the Pie
- Roll Out the Dough: On a lightly floured surface, gently roll out one disk of dough until it’s large enough to fit your pie dish. Aim for an even thickness of about 1/8 inch to ensure a perfect crust. Carefully transfer it to the dish, trimming any excess.
- Add Cherry Filling: Pour the cherry filling into the crust, spreading it evenly.
-
- Vent the Pie: If using a solid top, make several slits in the crust to allow steam to escape.
Step 4: Bake the Pie
- Preheat the Oven: Preheat your oven to 425°F (220°C).
- Bake: Place the pie in the oven and bake for 15 minutes. Then, reduce the temperature to 350°F (175°C) and continue baking for an additional 30-35 minutes, or until the crust is golden brown and the filling is bubbling.
- Cool: Once baked, remove the pie from the oven and let it cool for at least an hour. This cooling time allows the filling to set, making it easier to slice.
Tips for Perfection
- Use Fresh Cherries: Whenever possible, use fresh, in-season cherries for the best flavor. If using frozen, ensure they are thawed and drained.
- Flavor Enhancements: Consider adding a touch of cinnamon or nutmeg to the filling for an extra layer of warmth, perfect for the holiday season.
- Serve with Style: For a festive touch, serve your cherry pie with a scoop of vanilla ice cream or a dollop of whipped cream.
Creating the perfect cherry pie is not just about following a recipe; it’s about embracing the joy of baking and sharing delicious moments with loved ones. With the guidance of Sophia, the AI chef at Starlight Recipes, you now have the tools and secrets to bake a cherry pie that will impress everyone at your holiday table. So roll up your sleeves, gather your ingredients, and let the magic of cherry pie unfold in your kitchen this Christmas!
This unique recipe and preparation guide will not only help your readers make an incredible cherry pie but also enhance your blog’s SEO with relevant keywords and engaging content.
March 6, 2025
100109 Views
March 5, 2025
10096 Views
-
January 6, 2025
100337 Views
-
December 2, 2024
100300 Views


Comments